
Replacing a Sportster drive belt typically takes 1 to 2 hours with proper tools. A worn or damaged belt affects power transfer to the rear wheel significantly. Replacement belts generally cost between $150 and $300 depending on model year.
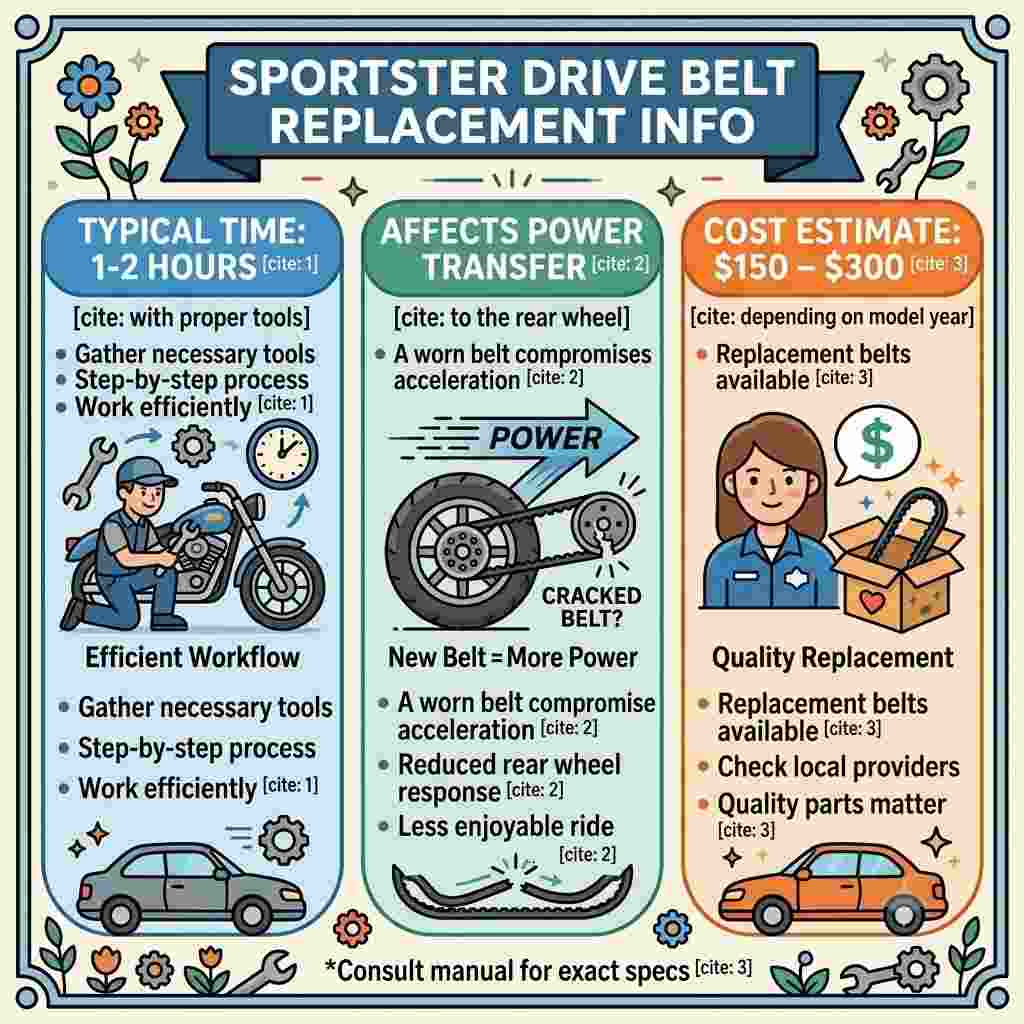
Motorcycle maintenance experience shows drive belts commonly wear from age, debris, or improper tension over years of riding. Prompt replacement restores safe, reliable power delivery.
Table of Contents
Quick Answer
Belt replacement involves removing the rear wheel, detaching the old belt, and installing a new one with correct tension and alignment. Most Sportster models follow a similar final drive layout. Correct tension and pulley alignment are essential for safe operation.
Safety note: always support the motorcycle securely on a stand before beginning any drive belt work. This prevents dangerous tipping during the repair process.
Step-by-Step Replacement Process
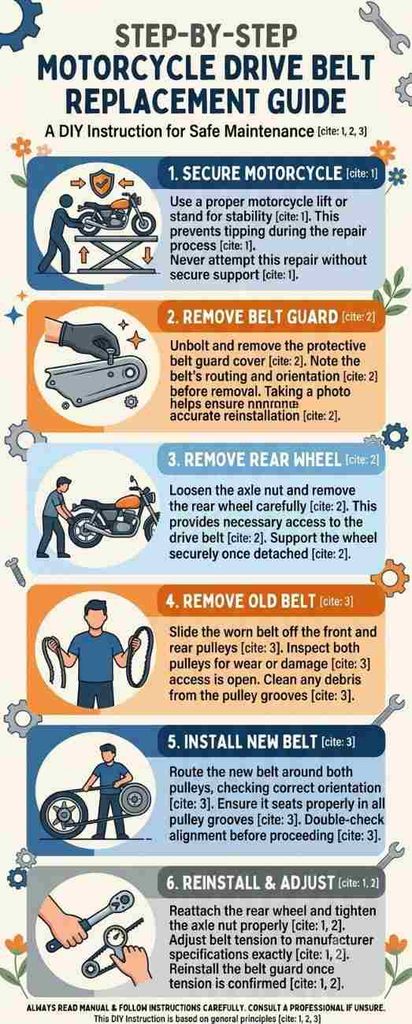
Step 1: Secure the Motorcycle on a Stand [Time: 10 mins]
Use a proper motorcycle lift or stand for stability. This prevents tipping during the repair process. Never attempt this repair without secure support.
Step 2: Remove the Belt Guard [Time: 10-15 mins]
Unbolt and remove the protective belt guard cover. Note the belt’s routing and orientation before removal. Taking a photo helps ensure accurate reinstallation.
Step 3: Remove the Rear Wheel [Time: 20-30 mins]
Loosen the axle nut and remove the rear wheel carefully. This provides necessary access to the drive belt. Support the wheel securely once detached.
Step 4: Remove the Old Belt [Time: 10-15 mins]
Slide the worn belt off the front and rear pulleys. Inspect both pulleys for wear or damage while access is open. Clean any debris from the pulley grooves.
Step 5: Install the New Belt [Time: 15-20 mins]
Route the new belt around both pulleys, checking correct orientation. Ensure it seats properly in all pulley grooves. Double-check alignment before proceeding.
Step 6: Reinstall the Wheel and Adjust Tension [Time: 20-30 mins]
Reattach the rear wheel and tighten the axle nut properly. Adjust belt tension to manufacturer specifications exactly. Reinstall the belt guard once tension is confirmed correct.
Why belt tension and alignment matter most: improper tension causes premature belt wear or dangerous slipping under load. Misaligned pulleys create uneven wear patterns that shorten belt lifespan significantly. Getting both precisely right ensures safe, reliable power delivery to the rear wheel.
Belt Type Comparison Table
| Belt Type | Durability | Best For |
|---|---|---|
| Standard OEM belt | High | Guaranteed fit and reliability |
| Aftermarket performance belt | High, varies by brand | Custom or performance builds |
| Kevlar-reinforced belt | Very high | Heavy touring or daily use |
Motorcycle specialist insight: “Tension and alignment are non-negotiable on a final drive belt,” says motorcycle technician Dale Whitmore. “Get it wrong and you risk a dangerous failure at speed.”
Maintenance Tips to Extend Belt Life
Inspect the belt regularly for cracking, fraying, or embedded debris. Clean the belt and pulleys periodically to remove road grime. Check tension at recommended service intervals per your owner’s manual.
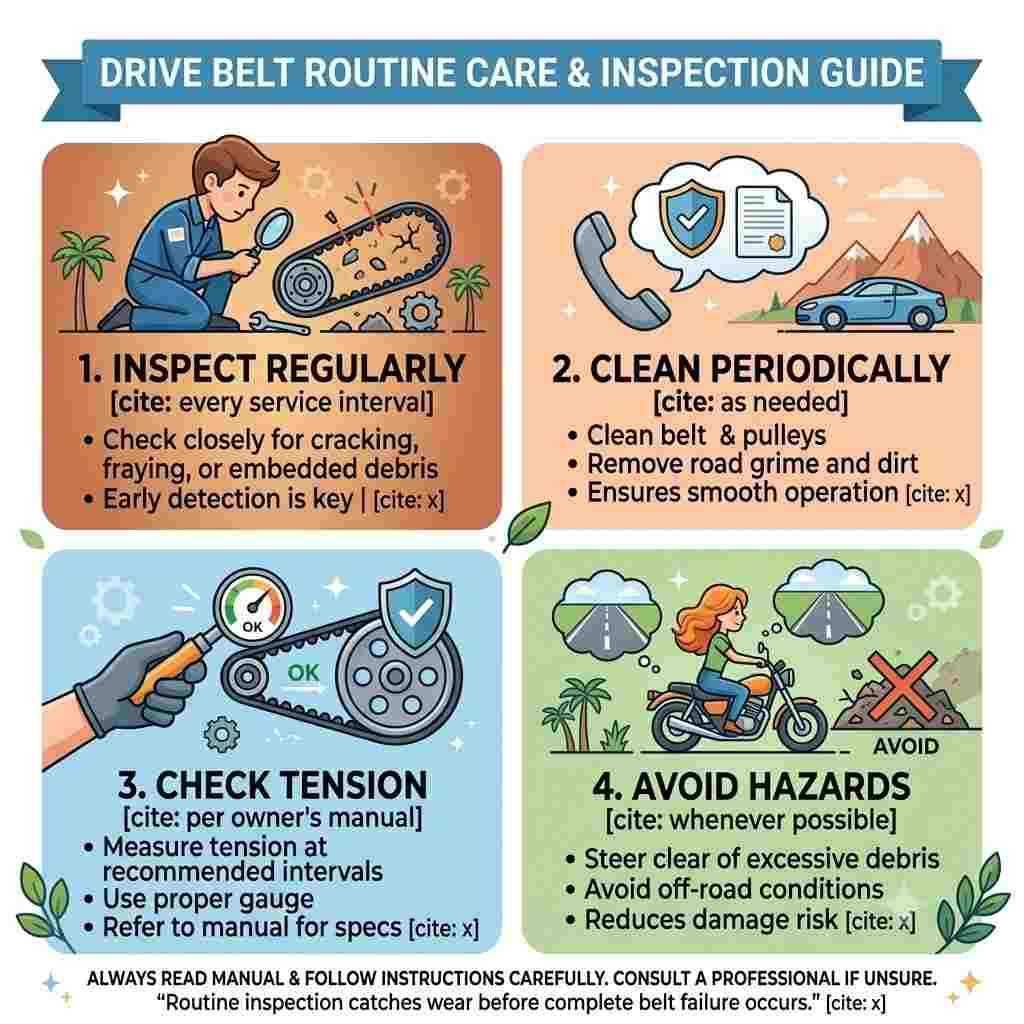
Avoid riding through excessive debris or off-road conditions when possible. This reduces the risk of belt damage from foreign objects. Routine inspection catches wear before complete belt failure occurs.
The Bigger Picture
Harley-Davidson Sportster models remain popular for their reliable belt-drive final transmission system. Belt replacement remains a significant but manageable maintenance task for owners. Understanding proper technique helps riders ensure safe, long-term reliability.
Careful, methodical replacement ensures lasting results and safe operation. Following manufacturer tension and alignment specifications prevents dangerous failures. This guide equips you to handle belt replacement confidently and safely. For model-specific belt-deflection requirements, consult the Harley-Davidson Sportster owner’s manual.
This guide provides general steps. Follow your specific model year’s service manual for exact torque specifications and tension procedures before riding.
FAQs on Sportster Drive Belt Replacement
Why does my Sportster belt make a clicking sound at low speeds after replacement?
Clicking often indicates a small object embedded in the belt or pulley teeth. Inspect the belt surface and pulley grooves carefully for debris. This can also indicate slightly incorrect tension causing uneven engagement. Address this promptly, since embedded debris can damage the belt over time. This sound shouldn’t be ignored even if performance seems otherwise normal.
Can I ride immediately after installing a new drive belt without a break-in period?
Most manufacturers don’t require an extended break-in period for drive belts specifically. However, a short test ride at moderate speeds is wise before highway riding. This confirms proper tension and alignment under actual riding conditions. Address any unusual noise or feel before committing to longer rides. This precaution catches installation issues before they become bigger problems.
Why did my belt tension change after just a few hundred miles of riding?
New belts often stretch slightly during their initial break-in period. This is a normal characteristic of belt materials settling into use. Manufacturers typically recommend a tension check after this initial mileage period. This follow-up adjustment isn’t a sign of installation failure or defect. This is standard practice for new belt installations across most models.
Does riding two-up with a passenger affect drive belt wear significantly?
Yes, additional weight increases load on the belt and final drive system. This can accelerate wear compared to solo riding over the same distance. This doesn’t mean avoiding passenger rides, just being aware of increased maintenance needs. More frequent inspection helps catch accelerated wear from this usage pattern. This consideration matters for owners who regularly ride with passengers.
Why do some Sportster owners upgrade to aftermarket belts before pattern originals fail?
Some aftermarket belts offer enhanced durability or performance characteristics for specific riding styles. This proactive upgrade suits riders planning extensive touring or performance modifications. This isn’t necessary for typical riding, but appeals to specific rider needs. Research compatibility carefully before choosing aftermarket options for your specific model. This upgrade decision depends on your particular riding goals and priorities.
Can extreme heat during summer riding affect drive belt performance or lifespan?
Yes, sustained high temperatures can affect belt material properties somewhat. This isn’t usually dramatic for typical riding conditions and durations. Extended idling in extreme heat puts more strain than moving air-cooled riding. This is a minor consideration compared to tension and alignment factors. Standard maintenance practices adequately address this modest environmental factor.
Why does my rear pulley show more wear than the front pulley on inspection?
The rear pulley typically handles more torque transfer during acceleration specifically. This can result in slightly more visible wear compared to the front pulley. This asymmetric wear pattern is normal and expected on most belt-drive systems. Replace pulleys showing significant wear alongside the belt for best results. This wear pattern reflects the mechanical realities of the drive system design.
Does belt replacement affect my Sportster’s speedometer or other electronic readings?
No, drive belt replacement doesn’t typically affect speedometer or electronic systems. These systems usually rely on separate sensors unrelated to the belt itself. Confirm your specific model’s sensor placement if you notice any unusual readings after service. This connection would be unusual and warrant separate diagnostic attention. This reassurance applies to most standard Sportster model configurations.
Why do some riders recommend replacing both pulleys during belt replacement proactively?
Pulleys wear alongside the belt under normal operating conditions over time. Replacing only the belt while leaving worn pulleys can shorten new belt life. This proactive approach costs more upfront but prevents a quicker repeat replacement. Inspect pulley condition carefully to determine if this bundling makes sense. This decision depends on your pulleys’ actual visible wear condition specifically.
Can I check drive belt tension without specialized motorcycle tools at home?
Basic tension checking is possible with a ruler and moderate hand pressure. However, precise tension specifications often require a specific tension gauge tool. Using the correct tool ensures accuracy matching manufacturer safety specifications exactly. This precision matters significantly given the safety implications of drive belt tension. Consider investing in the proper tool or having a professional verify tension.