
Replacing glass on the Eleaf Melo 4 tank atomizer takes roughly 10 minutes. The atomizer’s glass tube connects the top cap and base, holding e-liquid securely. A cracked tube requires full disassembly to swap safely.
Device maintenance experience shows atomizer glass often cracks during coil changes rather than regular use. Careful handling during maintenance prevents most breakage.
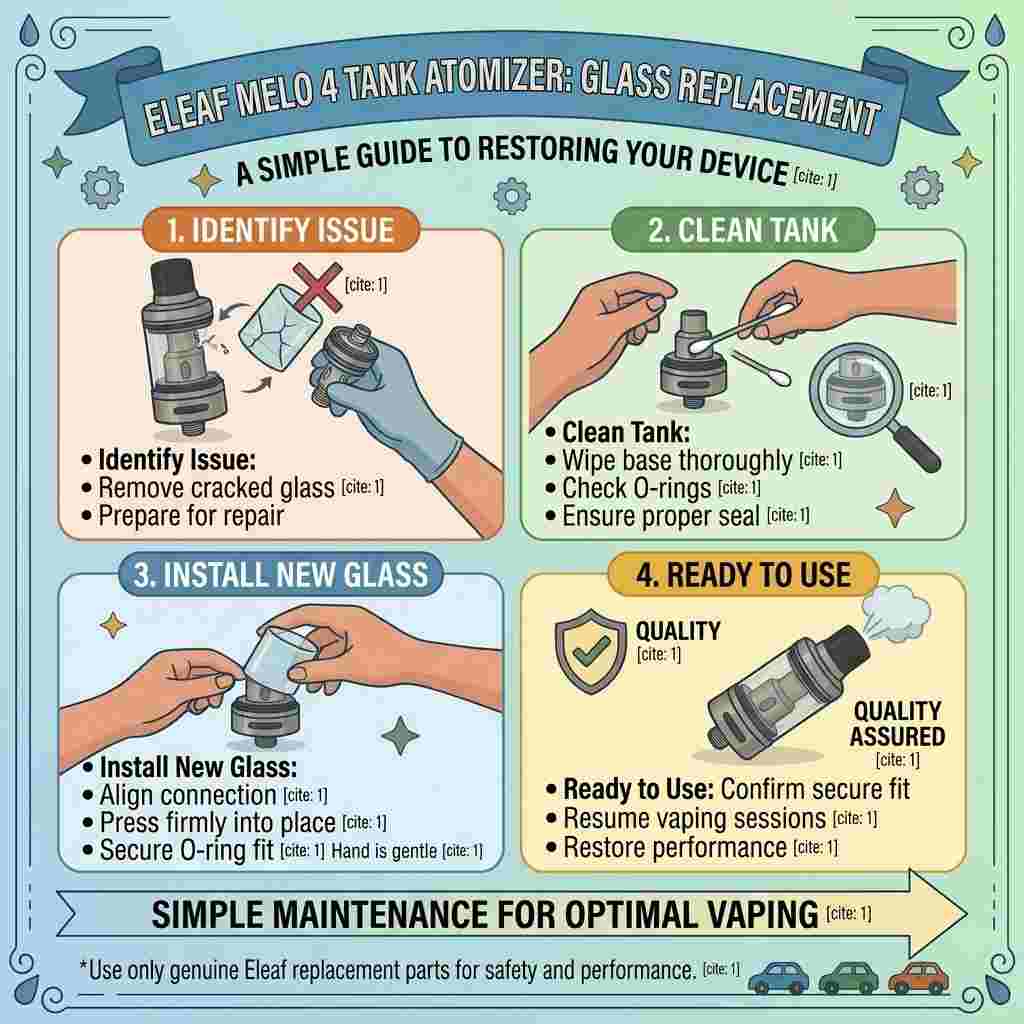
Table of Contents
Quick Answer
Atomizer glass replacement involves separating the tank’s top and bottom sections, removing the damaged tube, and installing a new one. Compatible replacement glass is widely available through vape retailers. Proper O-ring placement ensures a leak-free reassembly.
Prerequisite note: empty the tank fully before starting any atomizer disassembly. This prevents e-liquid spills during the repair process.
Step-by-Step Replacement Process
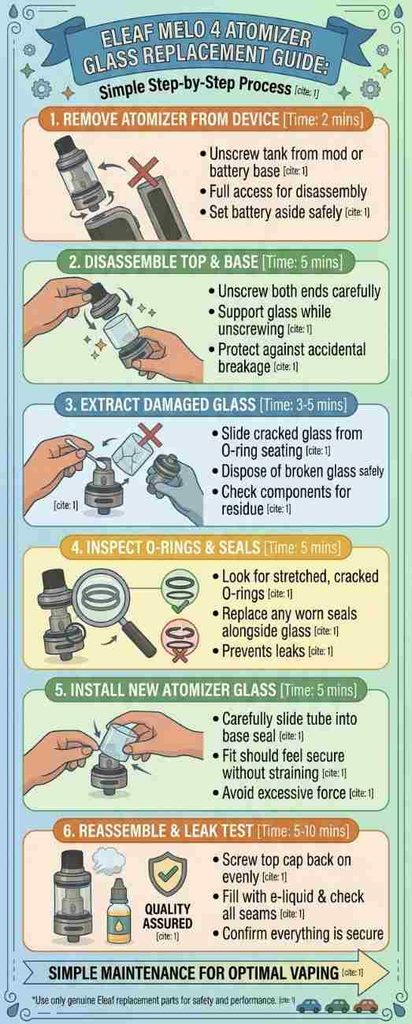
Step 1: Remove the Atomizer from Your Device [Time: 2 mins]
Unscrew the tank from the mod or battery base. This gives you full access for disassembly. Set the battery aside safely during repair.
Step 2: Disassemble the Top and Base Sections [Time: 5 mins]
Unscrew both ends of the atomizer carefully. Support the glass tube while unscrewing to prevent sudden drops. This protects against accidental breakage during disassembly.
Step 3: Extract the Damaged Glass Tube [Time: 3-5 mins]
Slide the cracked glass out from its O-ring seating. Dispose of broken glass safely. Check the coil and airflow components for residue while open.
Step 4: Inspect O-Rings and Seals [Time: 5 mins]
Look for stretched, cracked, or misshapen O-rings. Replace any worn seals alongside the glass. This prevents leaks even after installing new glass.
Step 5: Install the New Atomizer Glass [Time: 5 mins]
Carefully slide the replacement tube into the base seal. Avoid excessive force, which risks immediate cracking. The fit should feel secure without straining the glass.
Step 6: Reassemble and Perform a Leak Test [Time: 5-10 mins]
Screw the top cap back on evenly and securely. Fill with e-liquid and check all seams for seepage. Confirm everything’s secure before attaching to your device.
Why O-ring condition matters most: even perfectly installed new glass will leak if surrounding O-rings are worn or damaged. This detail gets overlooked often during quick glass swaps. Checking and replacing seals alongside glass ensures a truly leak-free repair.
Repair Comparison Table
| Repair Approach | Time Required | Best For |
|---|---|---|
| Glass-only replacement | 10 mins | Minor cracks, good seals |
| Glass plus O-ring replacement | 15 mins | Older tanks, visible wear |
| Full atomizer replacement | 5 mins (swap unit) | Extensive damage |
Product specialist insight: “Most leaks people blame on glass are actually worn O-rings,” says vape technician Priya Shah. “Replace both together for best results.”
Maintenance Tips to Prevent Future Cracks
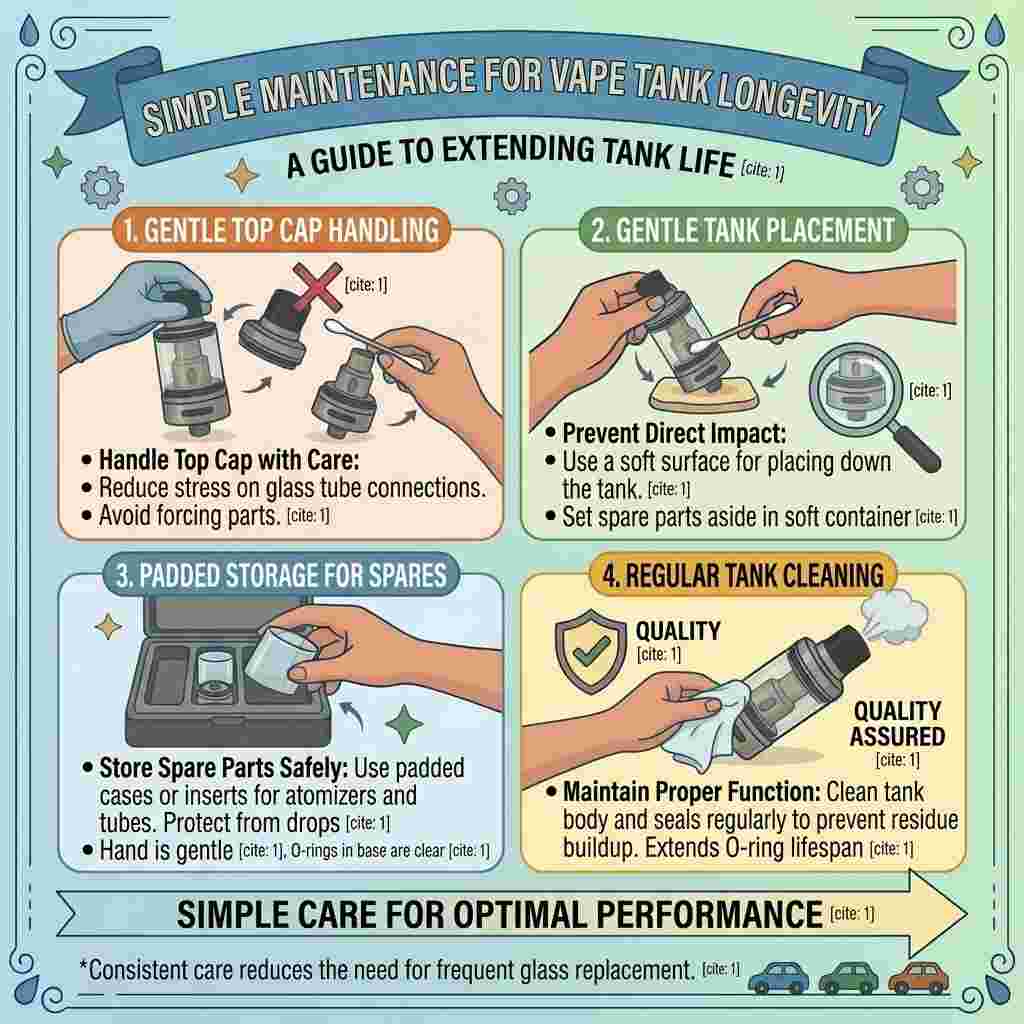
Support the glass tube whenever removing or attaching the top cap. Avoid setting the tank down hard on flat surfaces. Store spare atomizers in padded cases when not in use.
Clean the tank regularly to prevent residue buildup around seals. This maintains proper O-ring function over time. Consistent care reduces the need for frequent glass replacement.
The Bigger Picture
Atomizer glass replacement remains a routine part of vape tank maintenance for regular users. Standardized parts across popular models have made sourcing replacements easier. This trend continues improving accessibility for at-home repairs.
Careful disassembly and attention to seals ensure lasting results. Taking time during each step prevents repeat breakage. Following this guide keeps your atomizer functional and leak-free.
FAQs on Eleaf Melo 4 Tank Atomizer Replacement Glass
Why does my atomizer glass crack right after I install a brand-new coil?
New coils sometimes require more torque to seat properly during installation. This added twisting force can stress the glass if not supported correctly. Always hold the base steady while installing coils, not just during glass swaps. This technique prevents the glass from absorbing rotational stress. This is a common but avoidable cause of post-coil-change cracking.
Can I reuse old O-rings if they still look physically intact?
This depends on their actual flexibility, not just visual appearance. O-rings can lose elasticity internally while still looking fine externally. Gently stretch a removed O-ring to test its flexibility before reusing it. If it feels stiff or doesn’t spring back, replace it regardless of appearance. This simple test prevents leaks from seals that look fine but have degraded.
Why did my replacement glass tube arrive slightly shorter than the original?
Minor length variations can occur between different manufacturing batches or suppliers. This sometimes affects how the tube seats within the O-ring channels. Confirm the tube still creates a proper seal despite this minor difference. If leaking occurs, this length difference may be the actual cause. Contact the seller if the discrepancy seems significant enough to affect function.
Does the airflow control ring need removal during glass replacement?
This depends on your specific Melo 4 configuration and airflow design. Some designs require removing this ring for full glass access. Others allow glass replacement without disturbing the airflow control at all. Check your specific tank’s disassembly sequence before assuming this step is needed. This detail varies enough to warrant confirming for your exact model.
Why does my tank feel less airtight after reassembly despite following all steps?
This often indicates a slightly misaligned O-ring during the reassembly process. Even correct parts can create air leaks if seated at a slight angle. Disassemble and carefully recheck each O-ring’s seating before reassembling again. This methodical recheck usually identifies and resolves the airtightness issue. Patience during reassembly prevents this frustrating but fixable problem.
Can I speed up glass replacement by skipping the full leak test afterward?
This isn’t recommended, even though it adds a few extra minutes. Skipping this test risks discovering leaks only after filling and using the tank. This can waste e-liquid and create mess inside pockets or bags. The brief time investment in testing protects against this inconvenient outcome. This step is worth the extra few minutes every single time.
Why do some replacement glass kits include extra small parts I don’t recognize?
Some kits include spare O-rings, gaskets, or small components as a bundle. This provides extras for future maintenance beyond just the immediate glass swap. Keep these spare parts for future repairs rather than discarding them. This bundling offers good value for regular tank maintenance over time. Check the kit’s included parts list if you’re unsure what each piece is for.
Does using a torque wrench help with proper atomizer reassembly tightness?
Specialized torque tools exist for some vaping applications, though they’re not essential. Most users successfully reassemble tanks using hand-tightening with reasonable care. Focus on snug, even tightening rather than maximum force for reassembly. This hand-feel approach works well for the vast majority of home repairs. Specialized tools remain optional rather than necessary for this task.
Why does my new glass look slightly foggy compared to the clear original?
This can result from manufacturing residue not fully cleaned before packaging. Wash the new glass tube with warm water before installation to address this. Persistent fogging after cleaning might indicate lower-quality glass material. This cleaning step should be standard practice for any new replacement glass. This simple pre-installation cleaning often resolves apparent clarity issues.
Can atomizer glass replacement affect my tank’s overall flavor production?
Properly installed replacement glass shouldn’t affect flavor production directly. Flavor relates more to coil condition, airflow, and e-liquid than glass itself. If flavor changes after replacement, check coil condition and airflow settings separately. This helps distinguish glass-related issues from unrelated flavor factors. This reassurance applies to correctly installed, compatible replacement glass generally.